Preparing for Success

Proper preparation is crucial for a successful kitchen cabinet sanding project. By taking the time to gather the necessary tools and materials, protect your work area, and properly prepare your cabinets, you can ensure a smooth and efficient sanding process, minimizing dust and achieving optimal results.
Essential Tools and Materials
A well-equipped toolbox is essential for a smooth sanding experience. Here’s a list of tools and materials you’ll need:
- Sandpaper: Various grits are needed for different stages of sanding. Start with coarse grit (80-100) for removing old finish and scratches, followed by medium grit (120-150) for smoothing, and finish with fine grit (220-400) for a smooth, even surface.
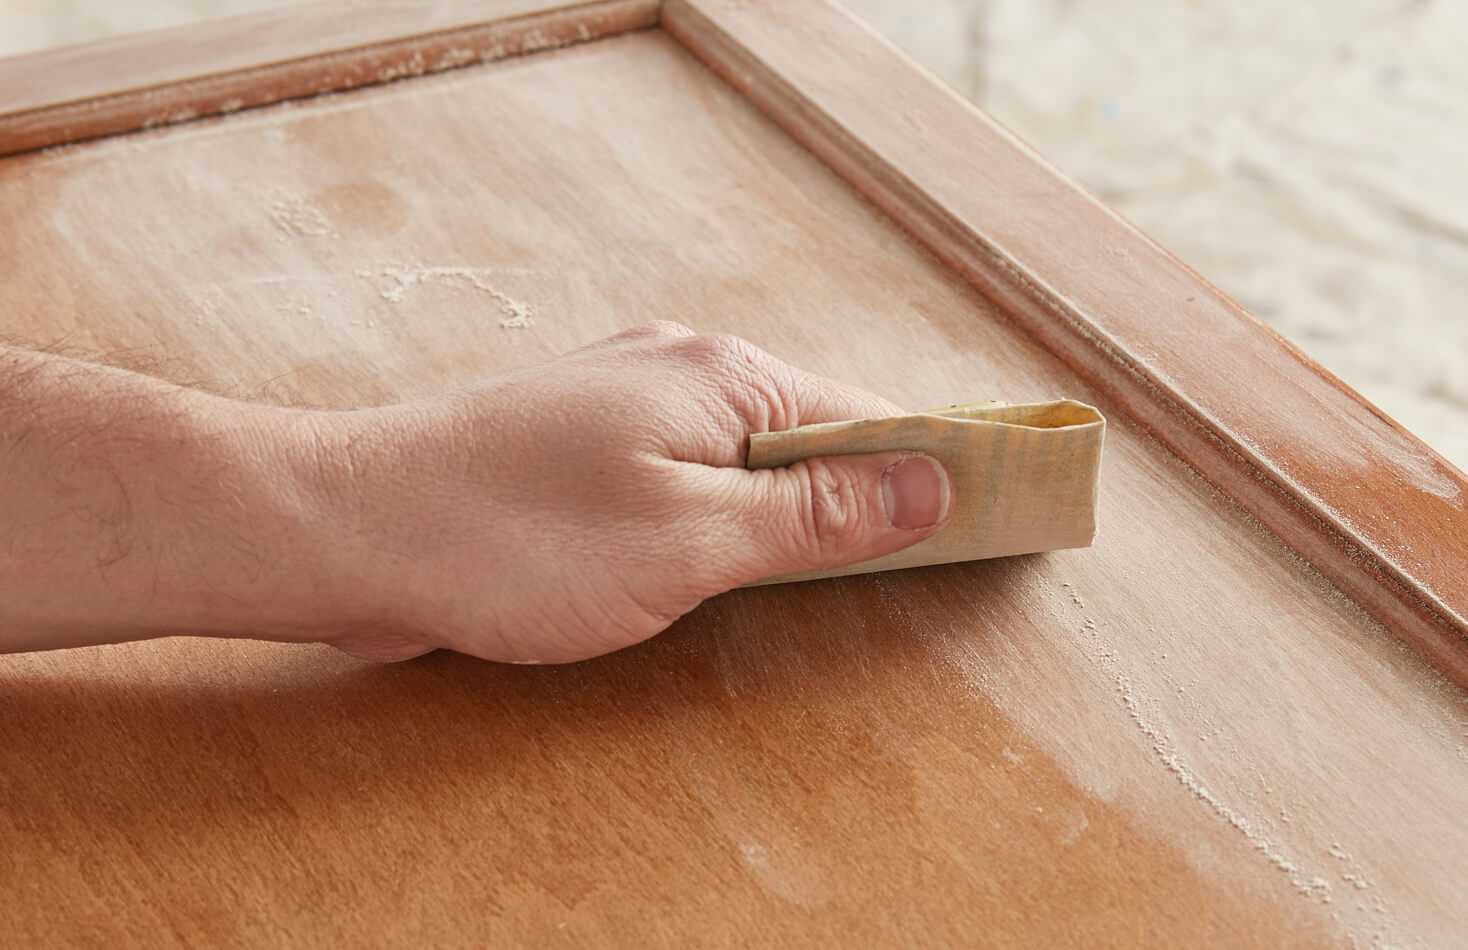
- Sanding Block: A sanding block provides a consistent pressure and helps achieve an even finish. Choose a block that fits comfortably in your hand.
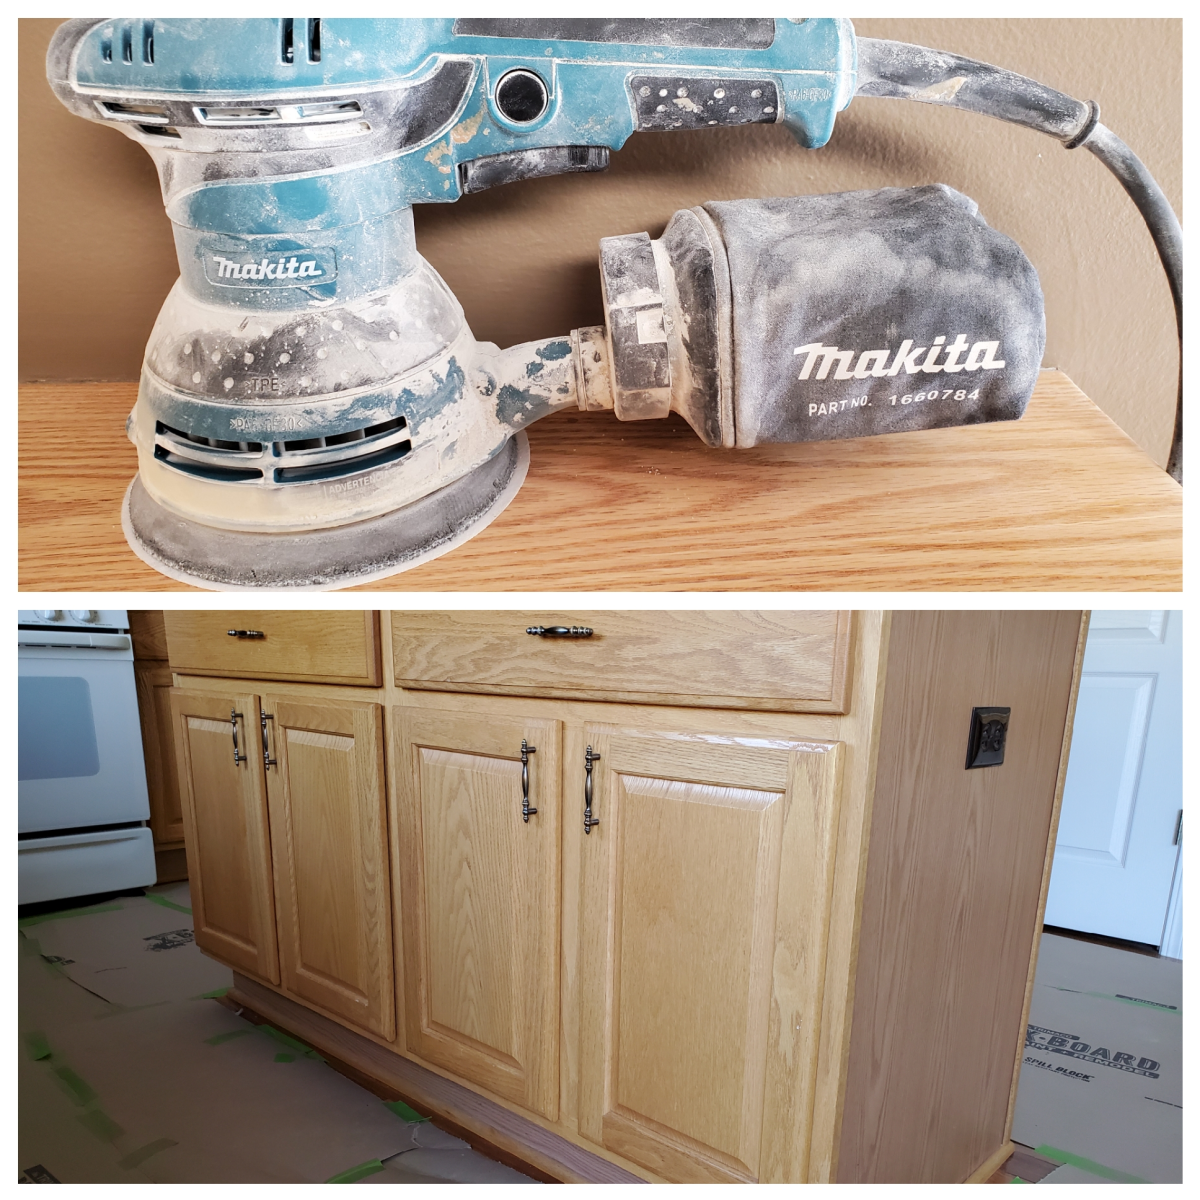
- Random Orbital Sander: This power tool is ideal for large surfaces, providing a faster and more efficient sanding experience.
- Dust Mask: Essential for protecting your respiratory system from sanding dust.
- Safety Glasses: Protect your eyes from flying debris and sanding dust.
- Work Gloves: Protect your hands from splinters and sanding dust.
- Drop Cloth: Protect your floors and surrounding areas from dust and debris.
- Paint Scraper: Used to remove loose paint or stubborn coatings.
- Putty Knife: For filling small gaps or holes before sanding.
- Tack Cloth: Removes dust and debris from the surface before applying paint or stain.
- Vacuum Cleaner: For cleaning up sanding dust and debris.
- Cleaning Supplies: Detergent, water, and rags for cleaning the cabinets before sanding.
Protecting the Surrounding Area
Sanding generates a significant amount of dust, so protecting your surroundings is crucial.
- Cover the Entire Area: Use a drop cloth to cover the entire floor area around the cabinets. Extend the drop cloth beyond the cabinet area to prevent dust from spreading.
- Seal Off the Room: If possible, seal off the room where you are sanding. Close doors and windows to prevent dust from escaping. Consider using a plastic sheet to create a barrier.
- Tape Off Adjacent Areas: Use painter’s tape to cover any areas you don’t want to be affected by dust, such as walls, countertops, or appliances.
- Use a Dust Mask: Always wear a dust mask to protect your respiratory system from inhaling sanding dust.
- Vacuum Regularly: Vacuum up any dust that settles on the drop cloth or surrounding areas throughout the sanding process.
Cleaning and Prepping the Cabinets
Before sanding, it’s essential to thoroughly clean and prep the cabinets to ensure a smooth and even finish.
- Remove Hardware: Remove all cabinet doors, drawers, and hardware (hinges, knobs, pulls). This will allow for easier access to all surfaces and prevent damage to hardware during sanding.
- Clean the Cabinets: Use a mild detergent and water to thoroughly clean the cabinets, removing any dirt, grease, or grime. Allow the cabinets to dry completely before proceeding.
- Remove Loose Paint or Finish: Use a paint scraper to remove any loose paint or finish. Be careful not to damage the underlying wood.
- Fill in Gaps or Holes: Use wood filler or putty to fill in any small gaps or holes. Allow the filler to dry completely before sanding.
- Sand the Surface: Lightly sand the entire surface of the cabinets with a fine-grit sandpaper (220-400) to remove any remaining dirt, grease, or imperfections. This will create a smooth and even surface for the new finish.
Sanding Techniques and Tips

Sanding is a crucial step in refinishing kitchen cabinets, and using the right techniques can make all the difference in achieving a smooth and professional-looking finish. This section will guide you through the process of sanding, covering various sandpaper grits, expert tips, and techniques for sanding different cabinet surfaces.
Sandpaper Grits and Their Uses
The grit of sandpaper refers to the coarseness of the abrasive particles. A lower grit number indicates coarser sandpaper, while a higher grit number indicates finer sandpaper. Choosing the right grit is essential for achieving a smooth and even finish. Here’s a breakdown of common sandpaper grits and their uses in sanding cabinets:
- 80-100 Grit: Used for initial sanding to remove old paint, varnish, or imperfections. This coarse grit helps to strip away layers quickly.
- 120-150 Grit: Used for smoothing out the surface after the initial sanding. This grit helps to remove any remaining scratches or imperfections left by the coarser grits.
- 180-220 Grit: Used for fine sanding to prepare the surface for the final coat of paint or stain. This grit creates a smooth and even surface for a high-quality finish.
- 240-400 Grit: Used for final sanding to achieve a super smooth finish, especially for cabinets that will be stained. This grit helps to eliminate any minor imperfections and creates a uniform surface for stain absorption.
Expert Tips for Achieving a Smooth and Even Finish
- Sand with the Grain: Always sand in the direction of the wood grain. Sanding against the grain can create scratches that will be visible in the final finish.
- Use Light Pressure: Avoid pressing too hard on the sandpaper, as this can cause uneven sanding and damage the wood. Let the sandpaper do the work.
- Overlap Strokes: Overlap each sanding stroke by about 50% to ensure a smooth and even finish. This helps to avoid leaving any gaps or missed areas.
- Sand in Multiple Directions: After sanding with the grain, you can lightly sand across the grain to smooth out any remaining imperfections. This is especially helpful for removing brush marks or other blemishes.
- Use a Dust Mask: Sanding generates a lot of dust, which can be harmful to your respiratory system. Always wear a dust mask to protect yourself.
Sanding Techniques for Different Cabinet Surfaces
- Flat Panels: Sand flat panels using long, even strokes in the direction of the grain. Use a sanding block or a piece of plywood wrapped in sandpaper to help maintain a consistent sanding pressure.
- Edges: Sand edges with a sanding block or a piece of sandpaper wrapped around a small piece of wood. Use light pressure and make sure to sand all edges evenly.
- Moldings: Sand moldings carefully, paying attention to the contours and curves. Use a sanding block or a small piece of sandpaper to reach the nooks and crannies.
Sanding Cabinets with Minimal Dust and Mess
- Use a Dust Collection System: If you have a sander with a dust collection system, use it. This will help to minimize the amount of dust generated during sanding.
- Use a Vacuum: Regularly vacuum up the dust as you sand to prevent it from accumulating and becoming a bigger mess. You can use a shop vacuum or a handheld vacuum.
- Cover the Area: Cover the surrounding area with drop cloths or plastic sheeting to protect it from dust.
- Sand Outside: If possible, sand your cabinets outside to minimize the dust inside your home. This is especially helpful if you’re working on multiple cabinets.
- Damp Cloth: After sanding, wipe down the cabinets with a damp cloth to remove any remaining dust particles.
Finishing Touches: How To Sand Kitchen Cabinets Without Mess

After sanding your kitchen cabinets, the final step is applying a finish. This will protect the wood and enhance its appearance, giving your cabinets a professional look.
Choosing the Right Finish
The choice of finish depends on the desired look and the level of protection required. Some popular options include:
- Paint: Offers excellent durability and a wide range of colors. Choose a high-quality paint specifically designed for cabinets, ensuring a smooth and even finish.
- Stain: Enhances the natural grain of the wood while providing a protective layer. Choose a stain that complements the wood species and desired color.
- Varnish: Protects the wood from scratches, moisture, and UV damage. Choose a varnish with a sheen that matches your aesthetic preferences, ranging from matte to high gloss.
- Polyurethane: Offers excellent durability and resistance to water and scratches. Choose a polyurethane finish that suits your desired sheen and application method (oil-based or water-based).
Applying Finishes Effectively
Applying finishes requires precision and attention to detail to achieve a professional look.
- Preparation: Ensure the cabinets are clean, dust-free, and properly prepped. This may involve cleaning with a tack cloth, applying a primer (especially for painted finishes), or using a sanding sealer for a smoother finish.
- Application Techniques: Use a high-quality brush, roller, or sprayer for applying the finish. Follow the manufacturer’s instructions regarding drying times and application methods. Thin the finish if needed, especially for stains and varnishes, to ensure even coverage.
- Multiple Coats: Apply multiple thin coats of finish rather than one thick coat. This allows for better penetration and a smoother, more durable finish. Allow each coat to dry completely before applying the next.
- Sanding Between Coats: Lightly sand between coats with fine-grit sandpaper (220-400 grit) to remove any imperfections and create a smooth surface for the next coat.
Drying and Curing Time
Proper drying and curing time is crucial for the finish to achieve its full strength and durability.
The drying time varies depending on the type of finish, temperature, and humidity.
Allow the finish to dry completely according to the manufacturer’s instructions. Avoid touching or using the cabinets until the finish is fully cured.
Cleaning Up and Storing, How to sand kitchen cabinets without mess
After finishing the project, it’s important to clean up and store your tools and materials properly.
- Clean Up: Clean brushes, rollers, and sprayers immediately after use with the appropriate solvent. Dispose of leftover finish according to local regulations.
- Store Tools: Store brushes, rollers, and other tools in a dry place to prevent them from drying out and becoming unusable.
- Store Materials: Store leftover finish in a cool, dry place, away from direct sunlight and heat. Ensure the containers are properly sealed to prevent evaporation and degradation of the finish.
How to sand kitchen cabinets without mess – Yo, sanding kitchen cabinets can be a total pain, especially if you wanna keep the place clean. But if you’re going for that sleek, modern look, you might wanna check out oak slab cabinet doors – they’re super smooth and easy to sand, no matter what your skill level is.
Just remember to use a dust mask and a good sander, and you’ll be good to go!
Yo, sanding kitchen cabinets can be a total drag, but you gotta do it right to get that smooth finish. If you’re going for a modern farmhouse look, check out modern farmhouse cabinet doors – they’re totally fire.
Anyway, back to the sanding – use a good dust mask, tape off the areas you don’t want to sand, and work in small sections to avoid getting overwhelmed. You’ll be bumpin’ to the beat in no time!
